This guide will take you step by step of setting up Minecraft: Java Edition including downloading, installing, and configuring your first minecraft game.
Installing the Minecraft Launcher
-
Download the Minecraft Launcher installer from the Website for your operating system (mac0S, Windows).
-
Sign in into your minecraft account using the
emailgiven.

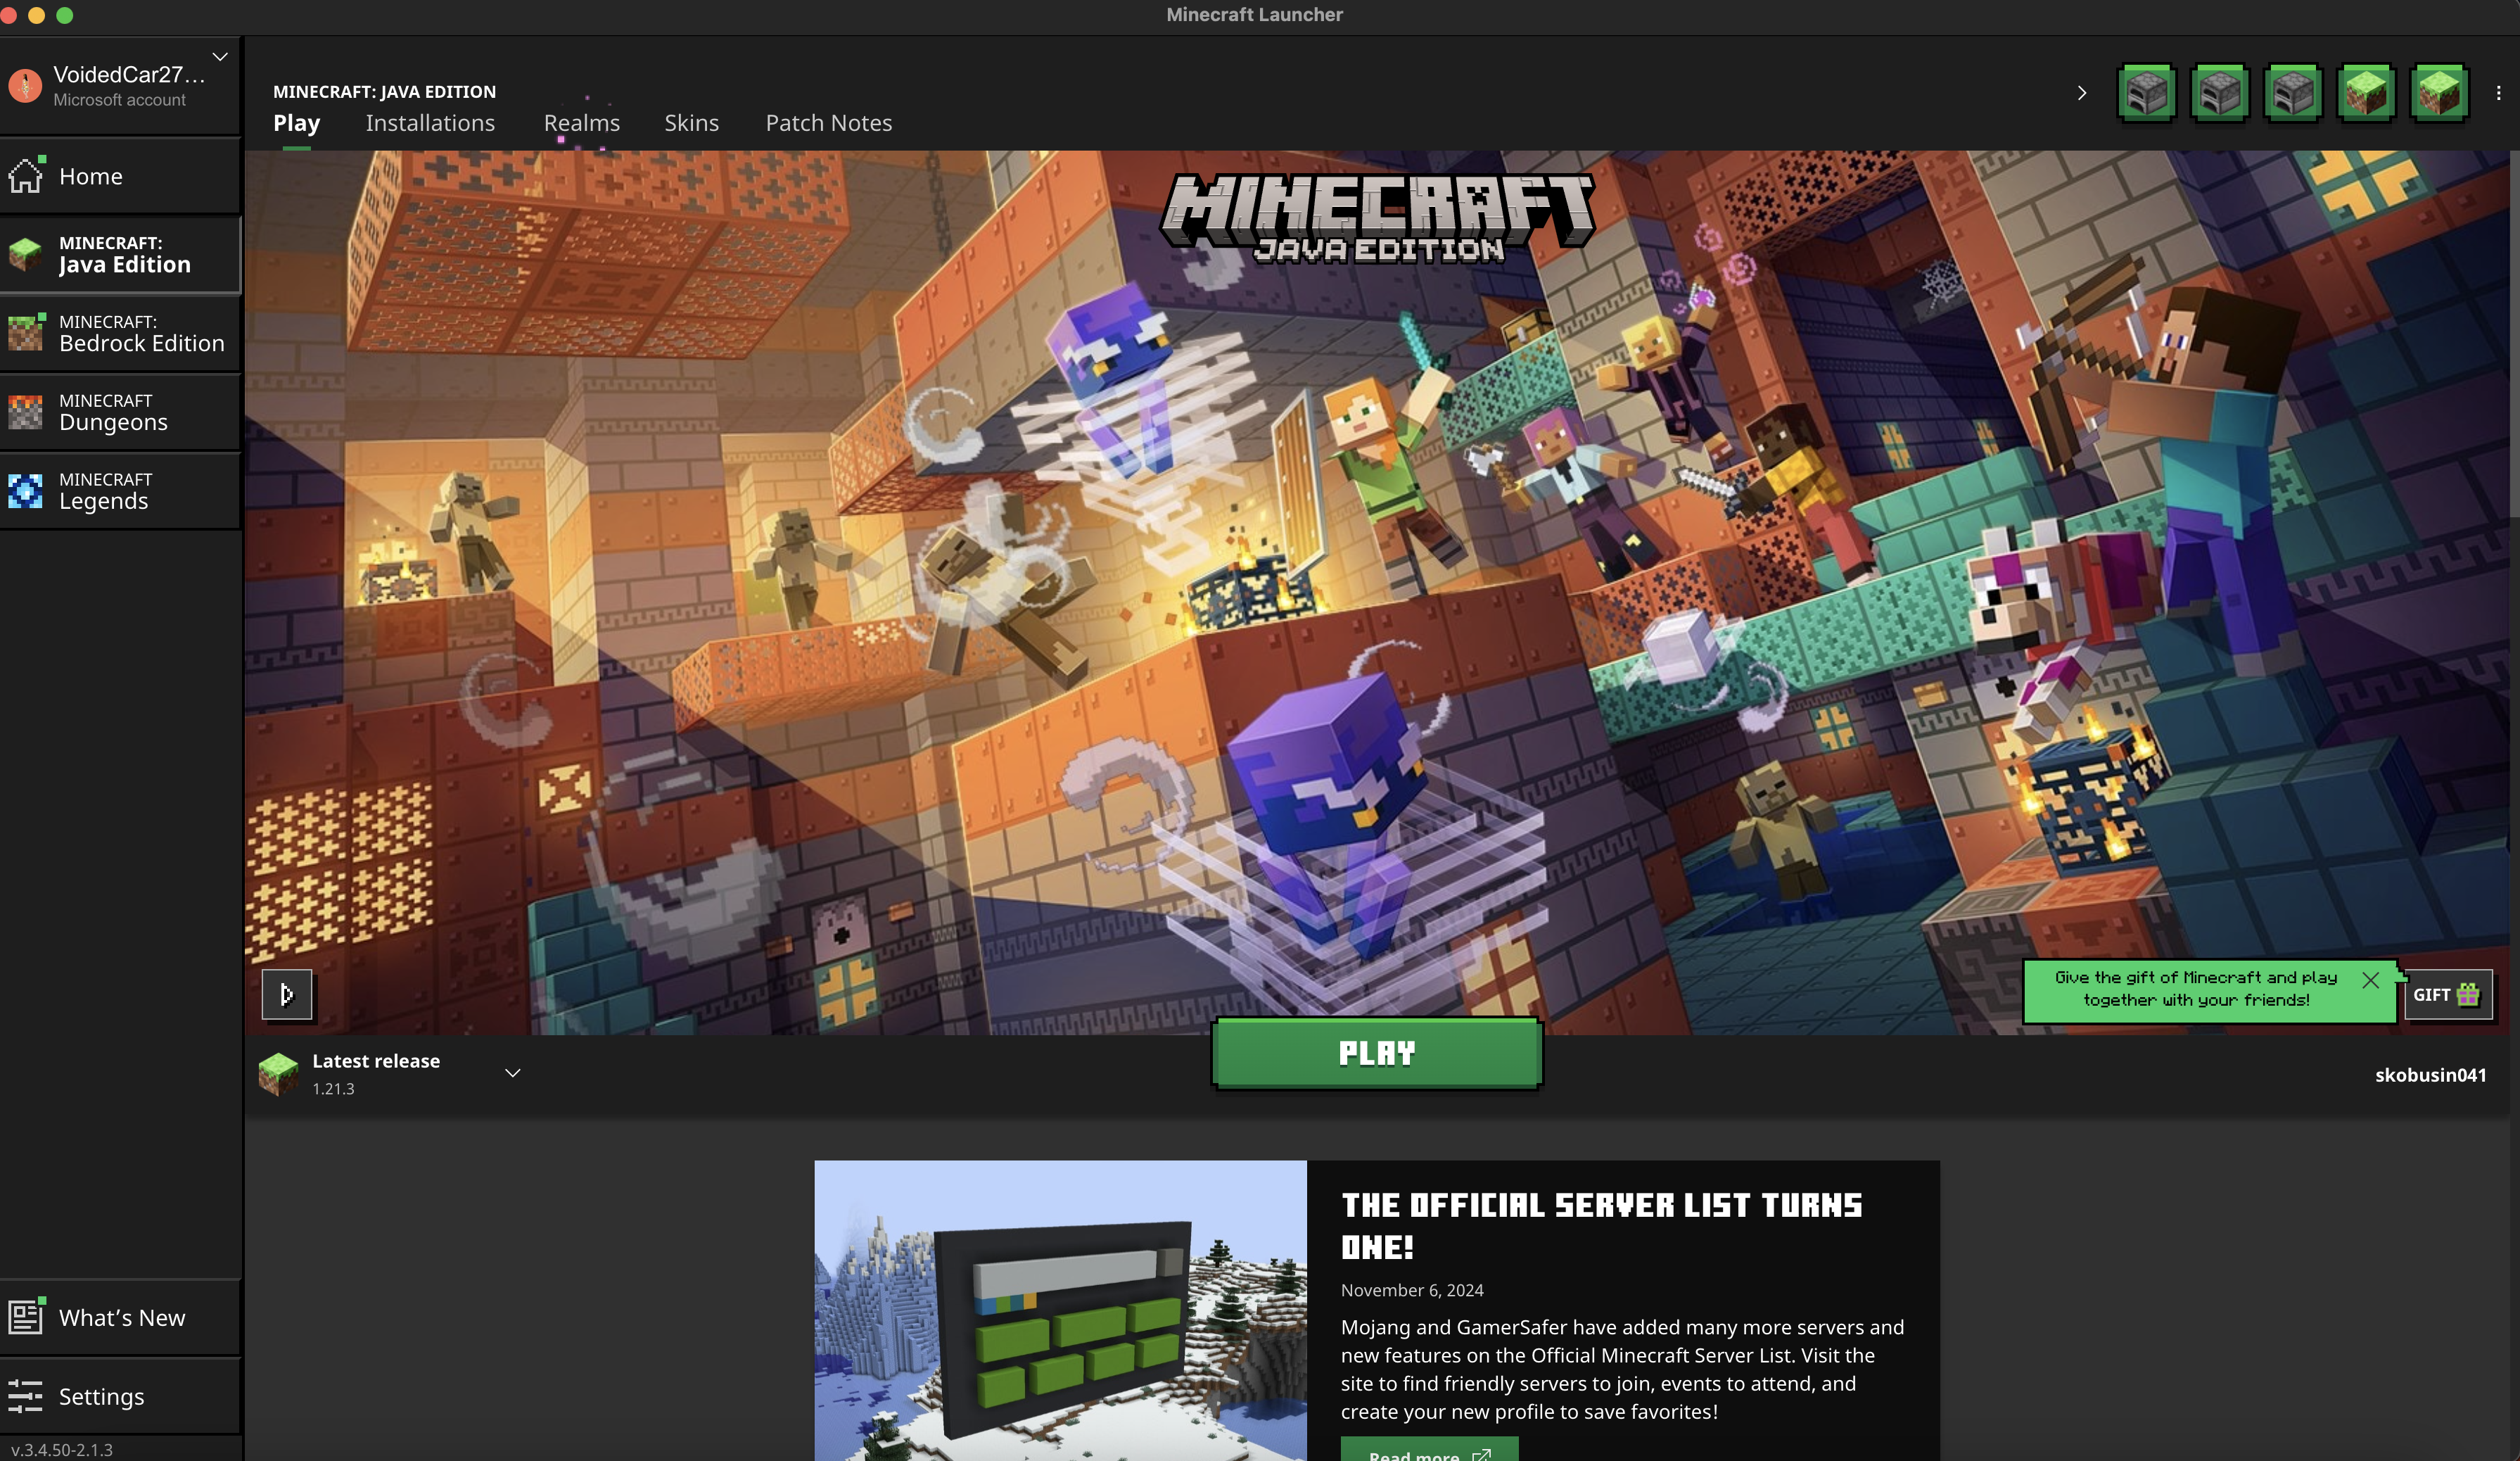
- After successfully signing into your
Microsoft Account, you should see a screen similar to the one shown below. This indicates that you are logged in and ready to proceed to other steps.
Updating Version
To receive any credit on your final project, you must use Minecraft: Java Edition version 1.21.3.
Follow the steps to update to the correct version:
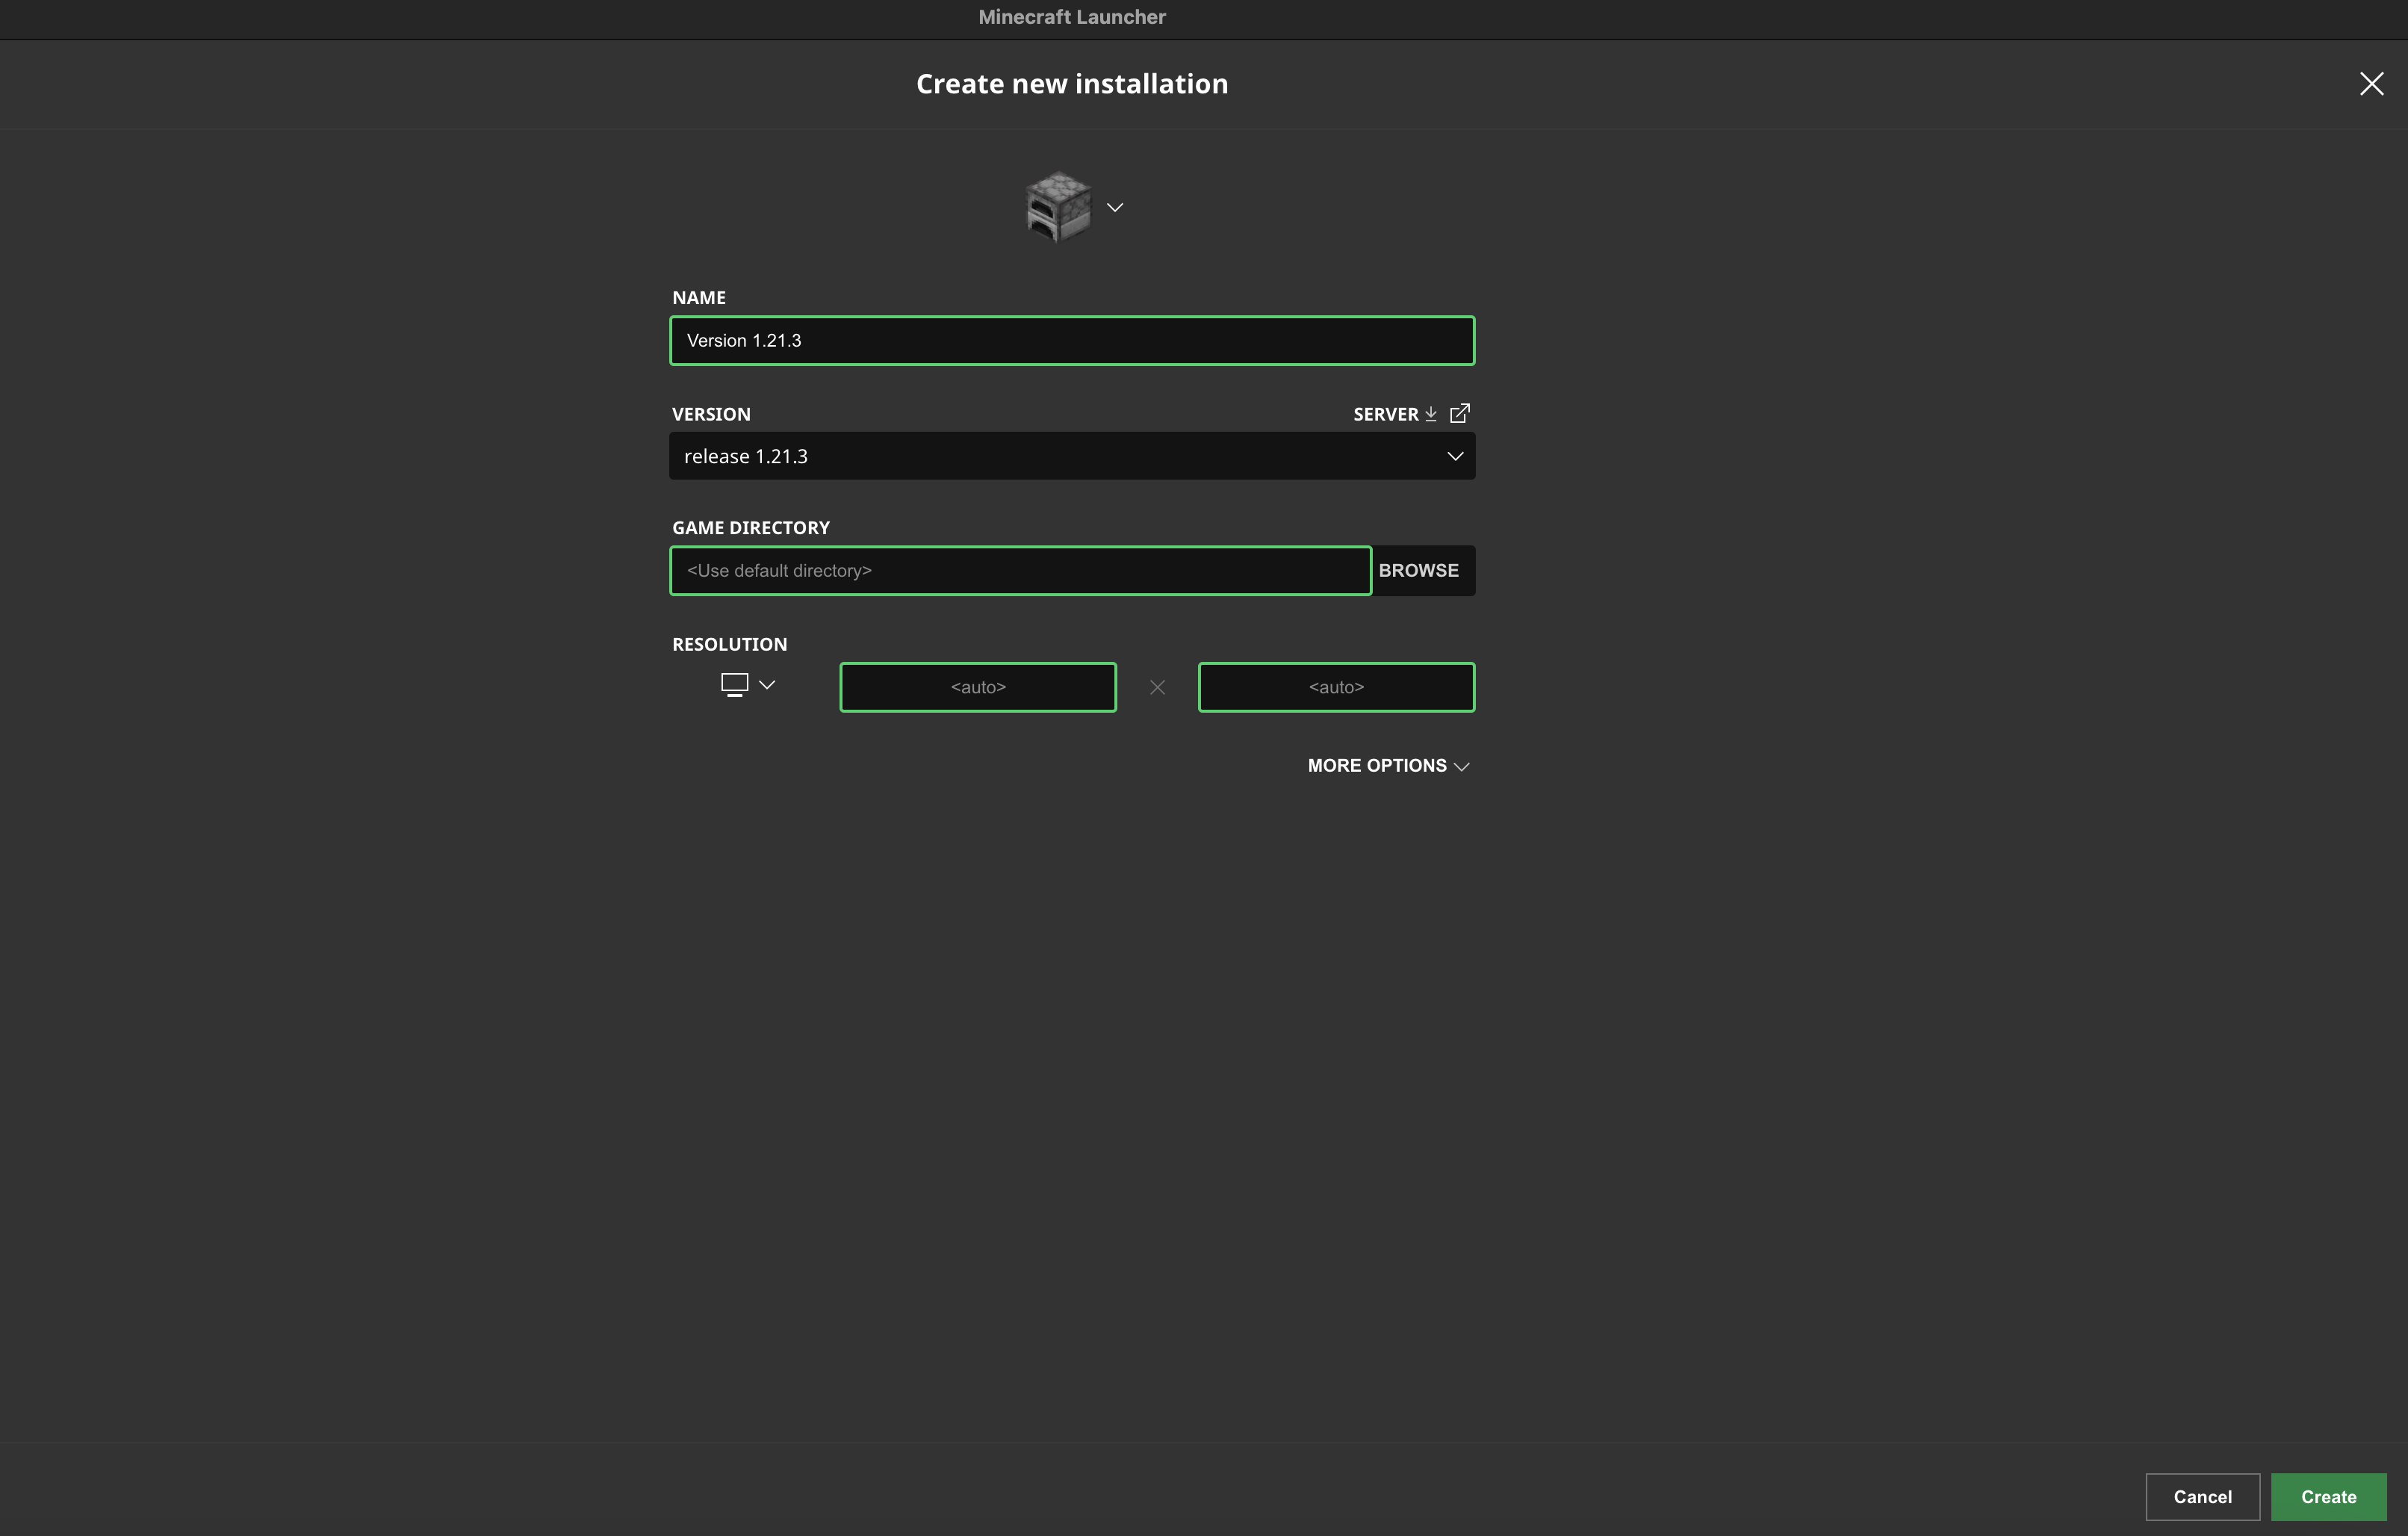
- Open
Minecraft Launcher - Navigate to
Installation Tab - Click
New Installation - In the new version
-
Name your installationVersion (e.g: 1.21.3) - From the dropdown, select
release 1.21.3
-
- Click
Create - Once created, return to the
Playtab, select new installation and clickPlayto launch the correct version.
Playing the first game
By default, you are limited to one Minecraft account per computer user account. Thus, select one person in your group to login into your account.
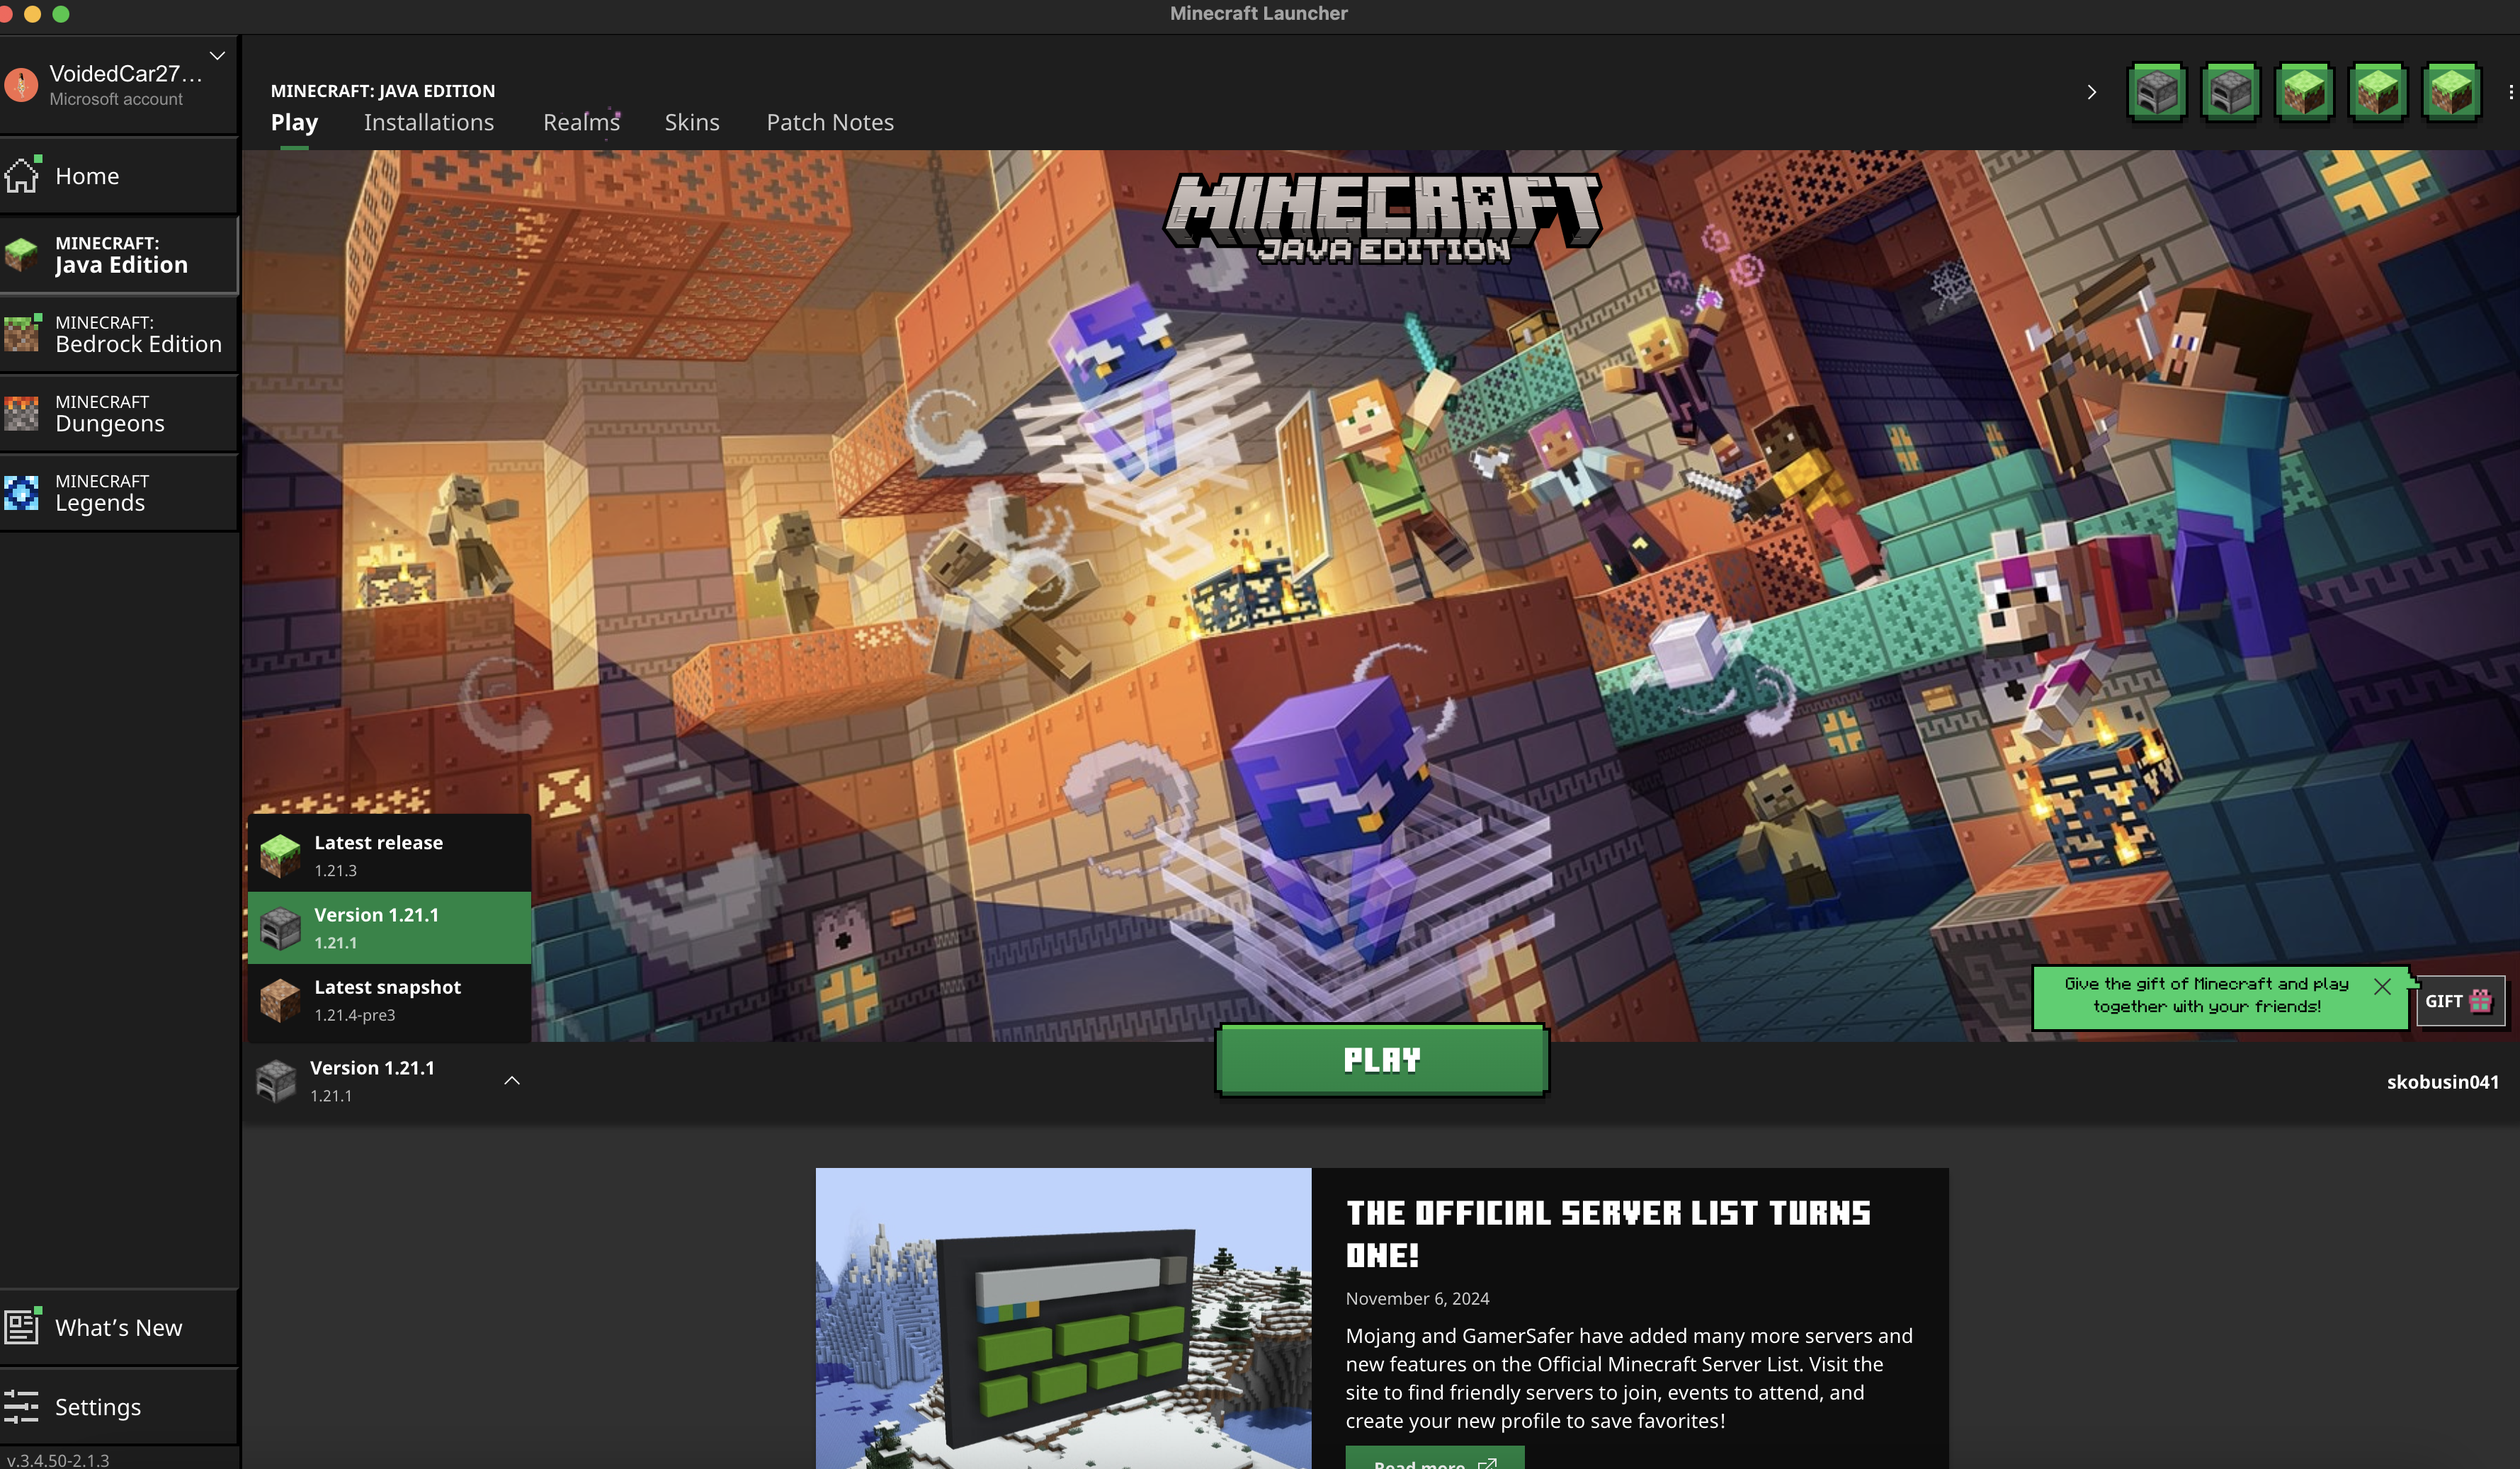
- Run using Version 1.21.3 and click
Play, you should have the below screen
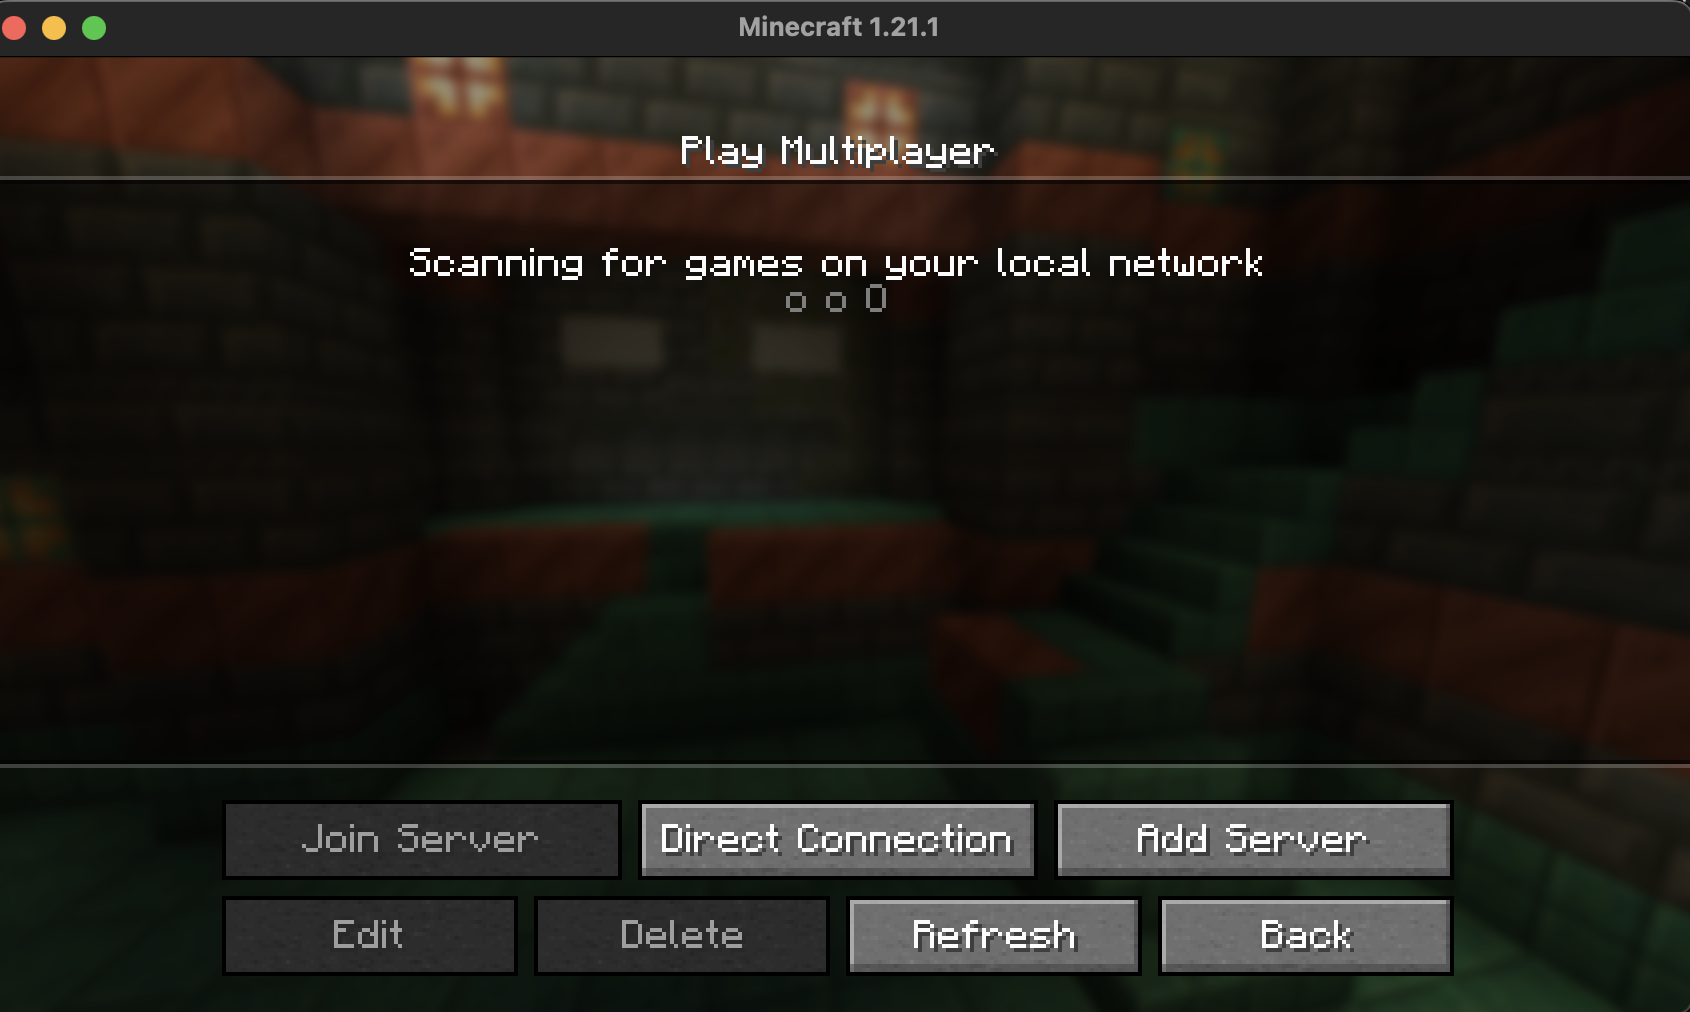
- Click
Add Serverand input the givenServer Addressthen clickDone
If using a Caltech minecraft account, you are not permitted to access non-Caltech servers. You should not connect to other groups’ servers if you don’t have permission from that group.

- You should now have an active Minecraft Server then select it, and click
Join Server

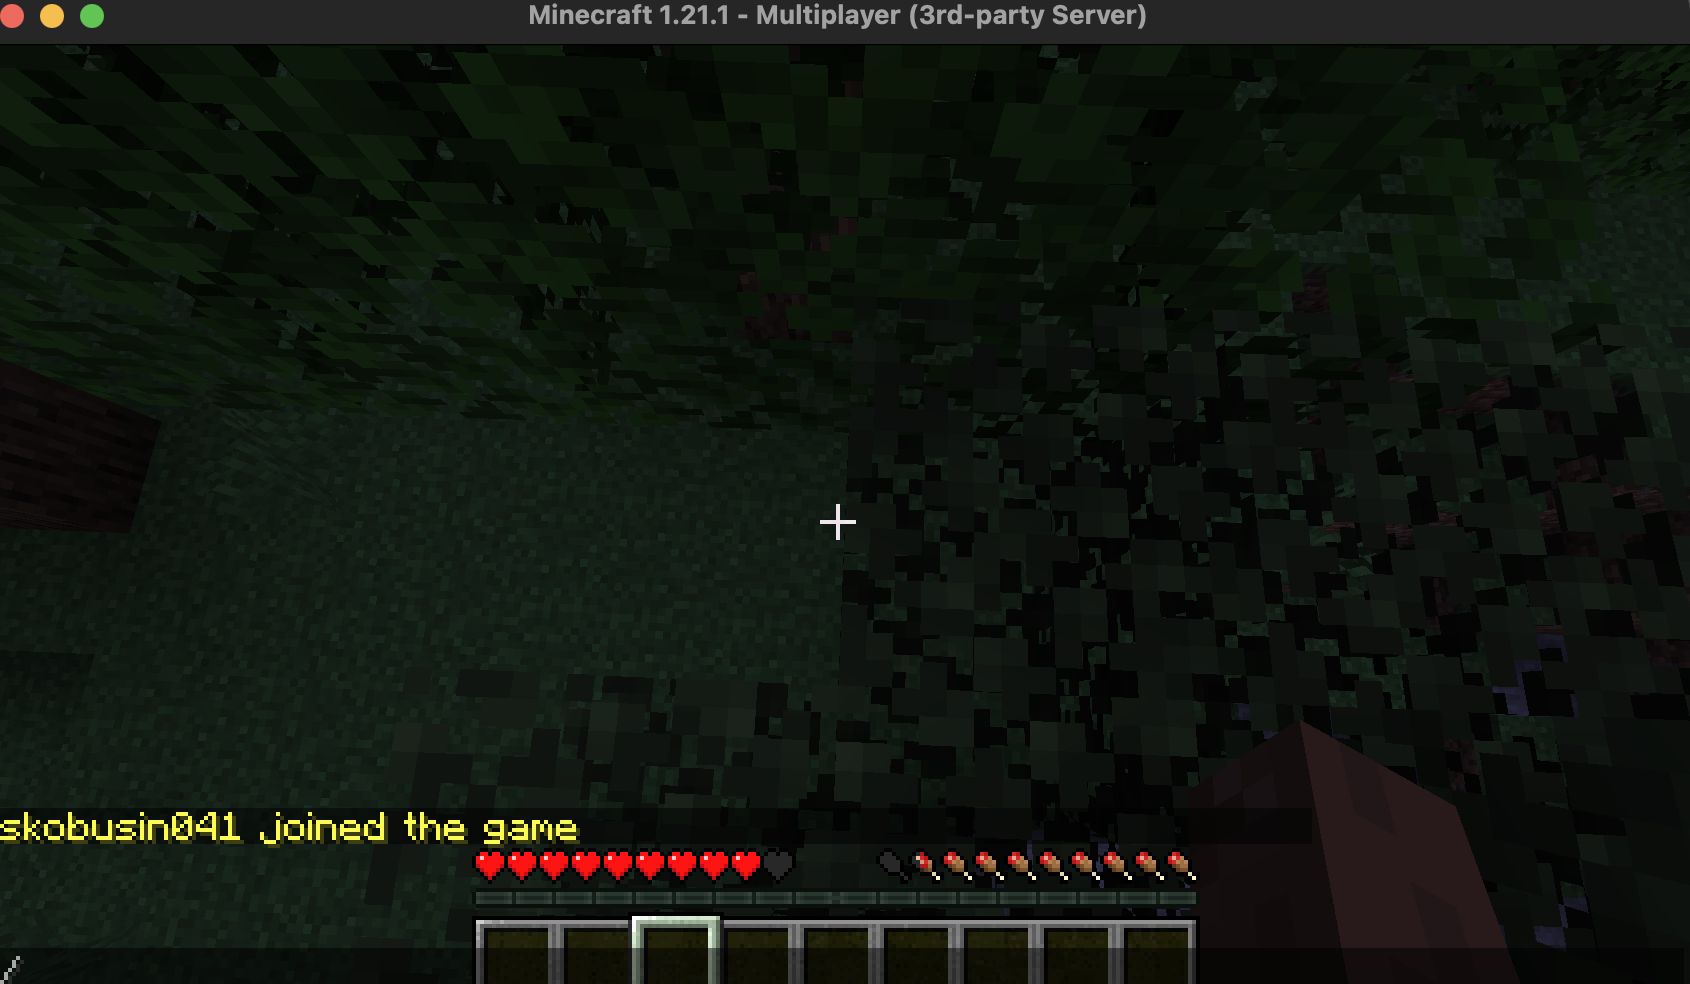
- Click
Join Serverandtadaaahhyour first game!
NOTE: Feel free to join office hours for help if you are having issue with Minecraft: Java Edition installation