For the Newton’s cradle project, we use the Google Sheets API to interact with the information in a spreadsheet - this includes getting information about each pendulum and also updating various physical attributes of the pendula. Here are the instructions to set up the Google Sheets API. Here is a video of us setting it up:
And below are the written instructions that the video goes off of. If you have any issues with the setup, feel free to drop into OH!
Do not use your Caltech Google account (or any organizational Google account)
to make a copy of the spreadsheet, create the project, or set up the service account.
Please use a personal Google account ending in @gmail.com instead.
Set up the spreadsheet
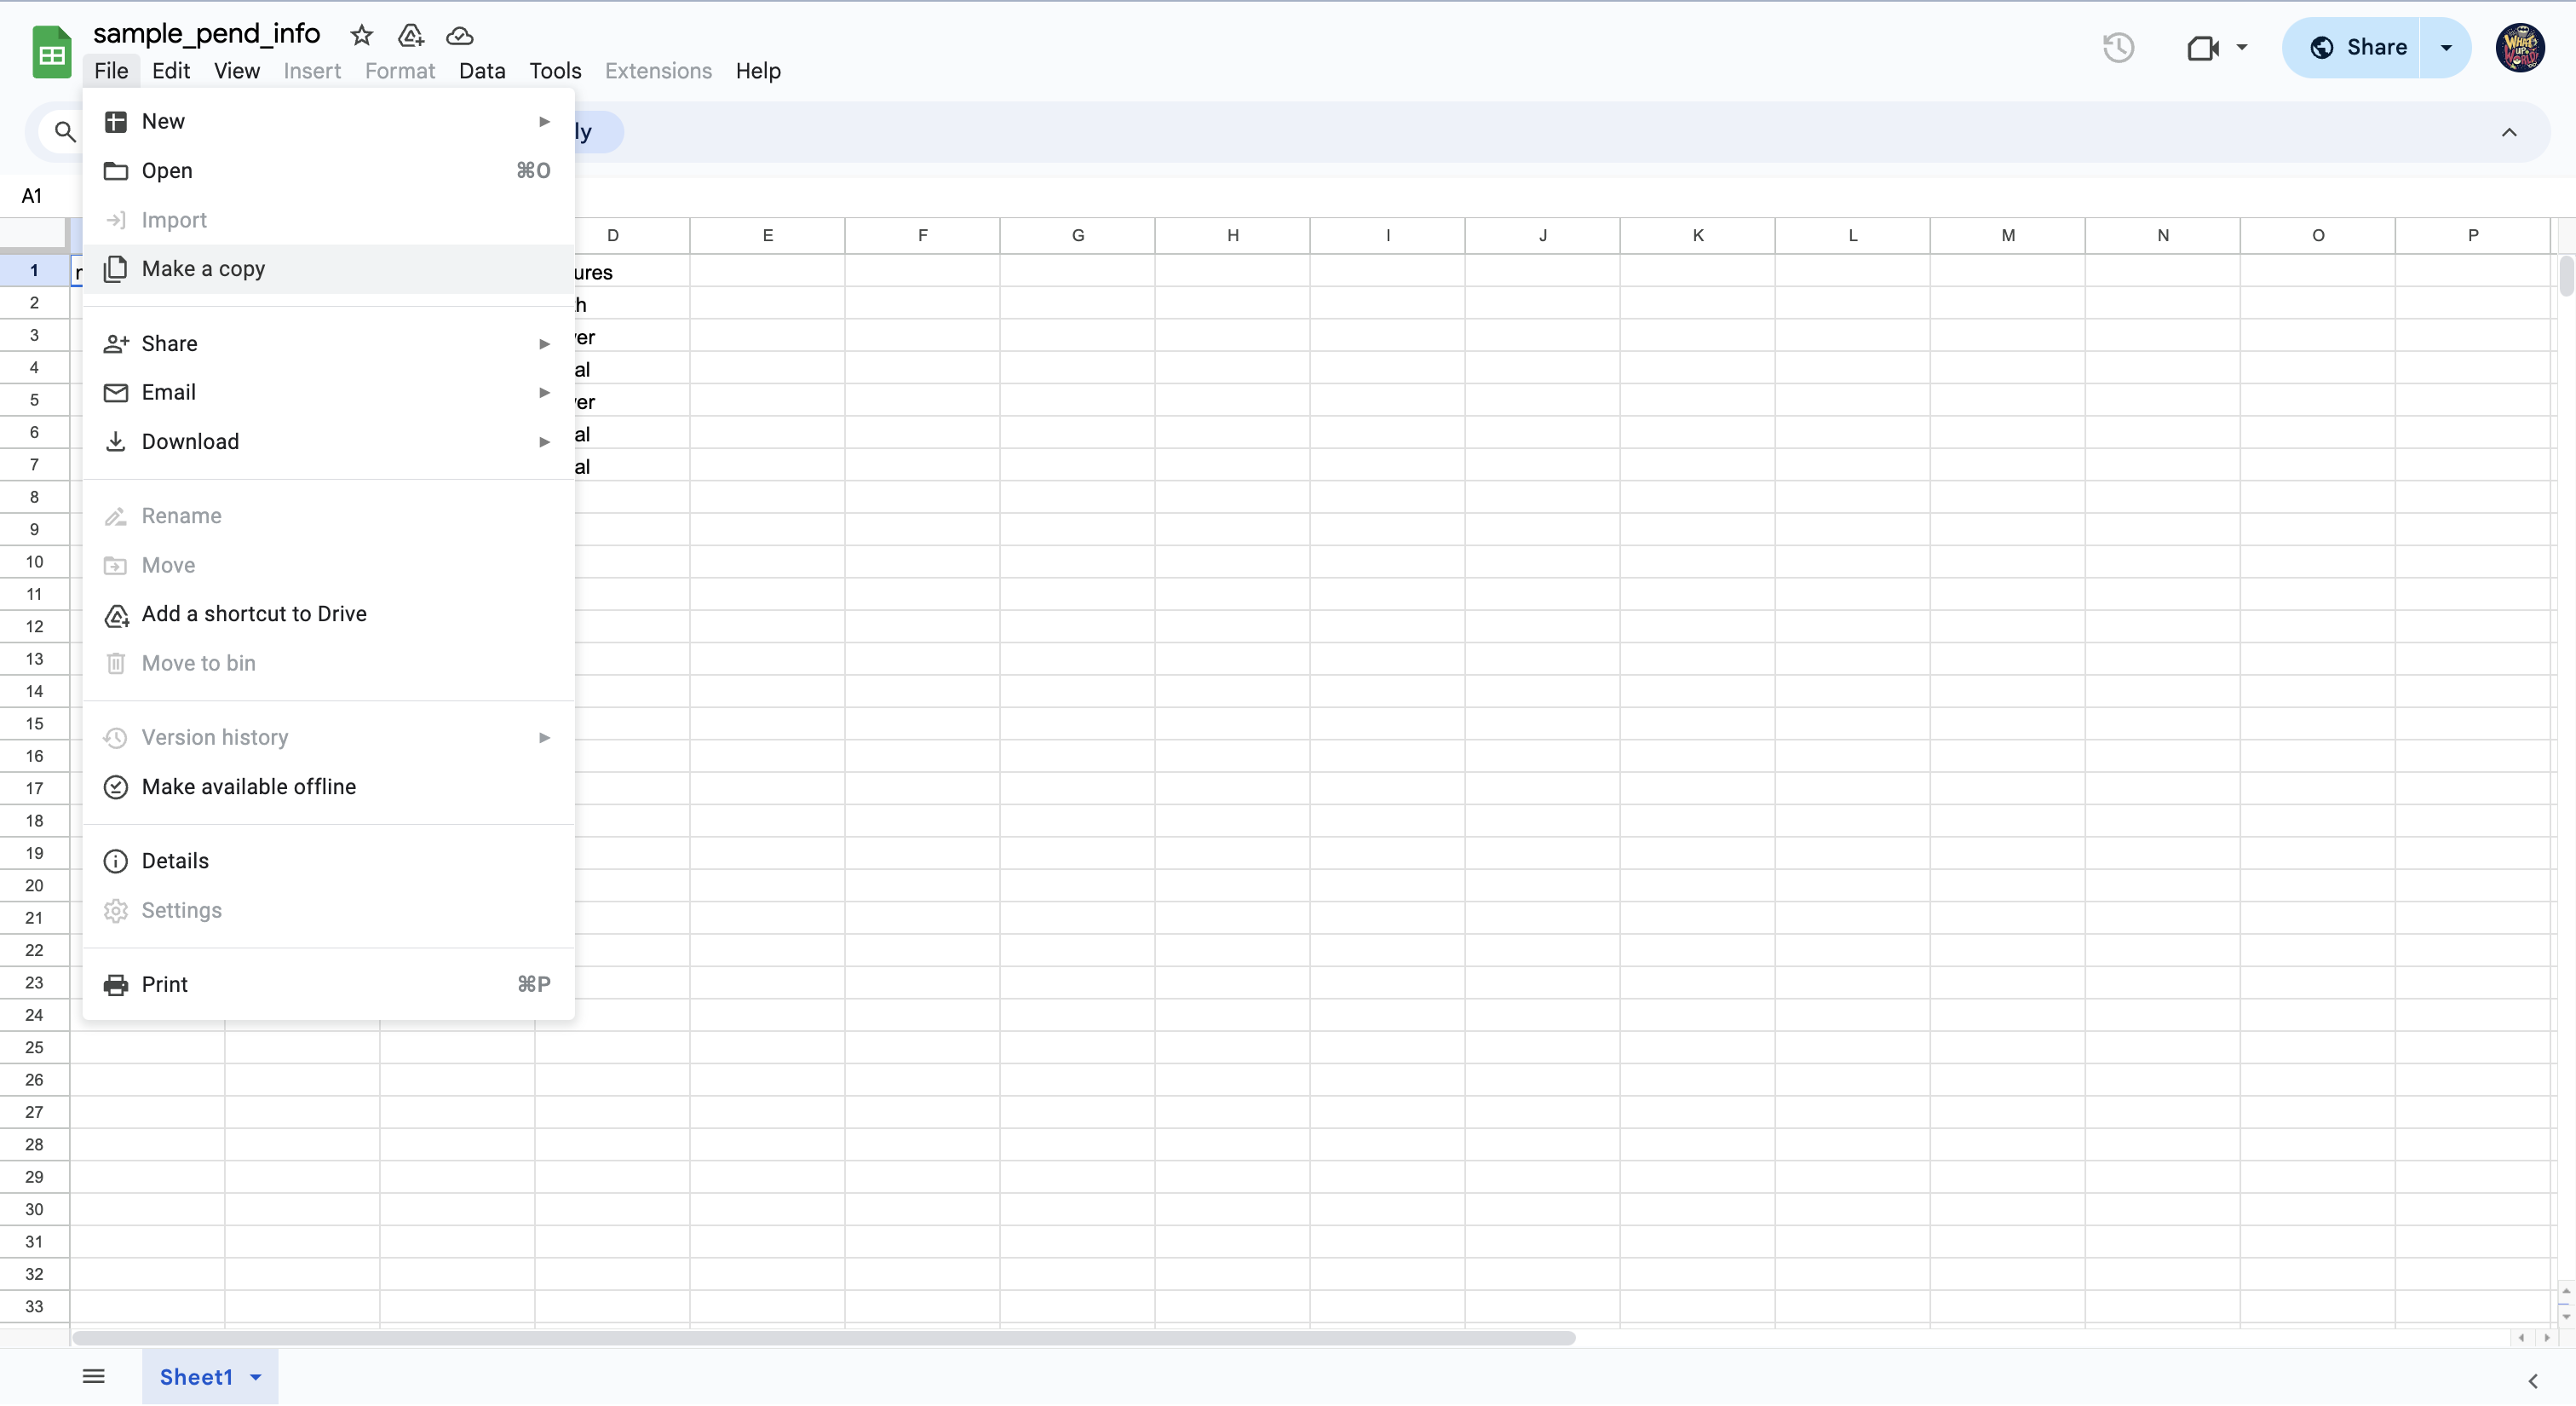
Go to this spreadsheet and click on “File” > “Make a copy” to create a copy. You may name it whatever you want. In the copy you just made, click on “Share” and change the settings so anyone with the link can edit the sheet. (Your Caltech Google account will not allow you to share to anyone with the link.)
Make a note of your spreadsheet’s unique ID - this can be found in the url of the Google Sheet:
https://docs.google.com/spreadsheets/d/SPREADSHEET_ID/edit?gid=0#gid=0
For example:

Create a project
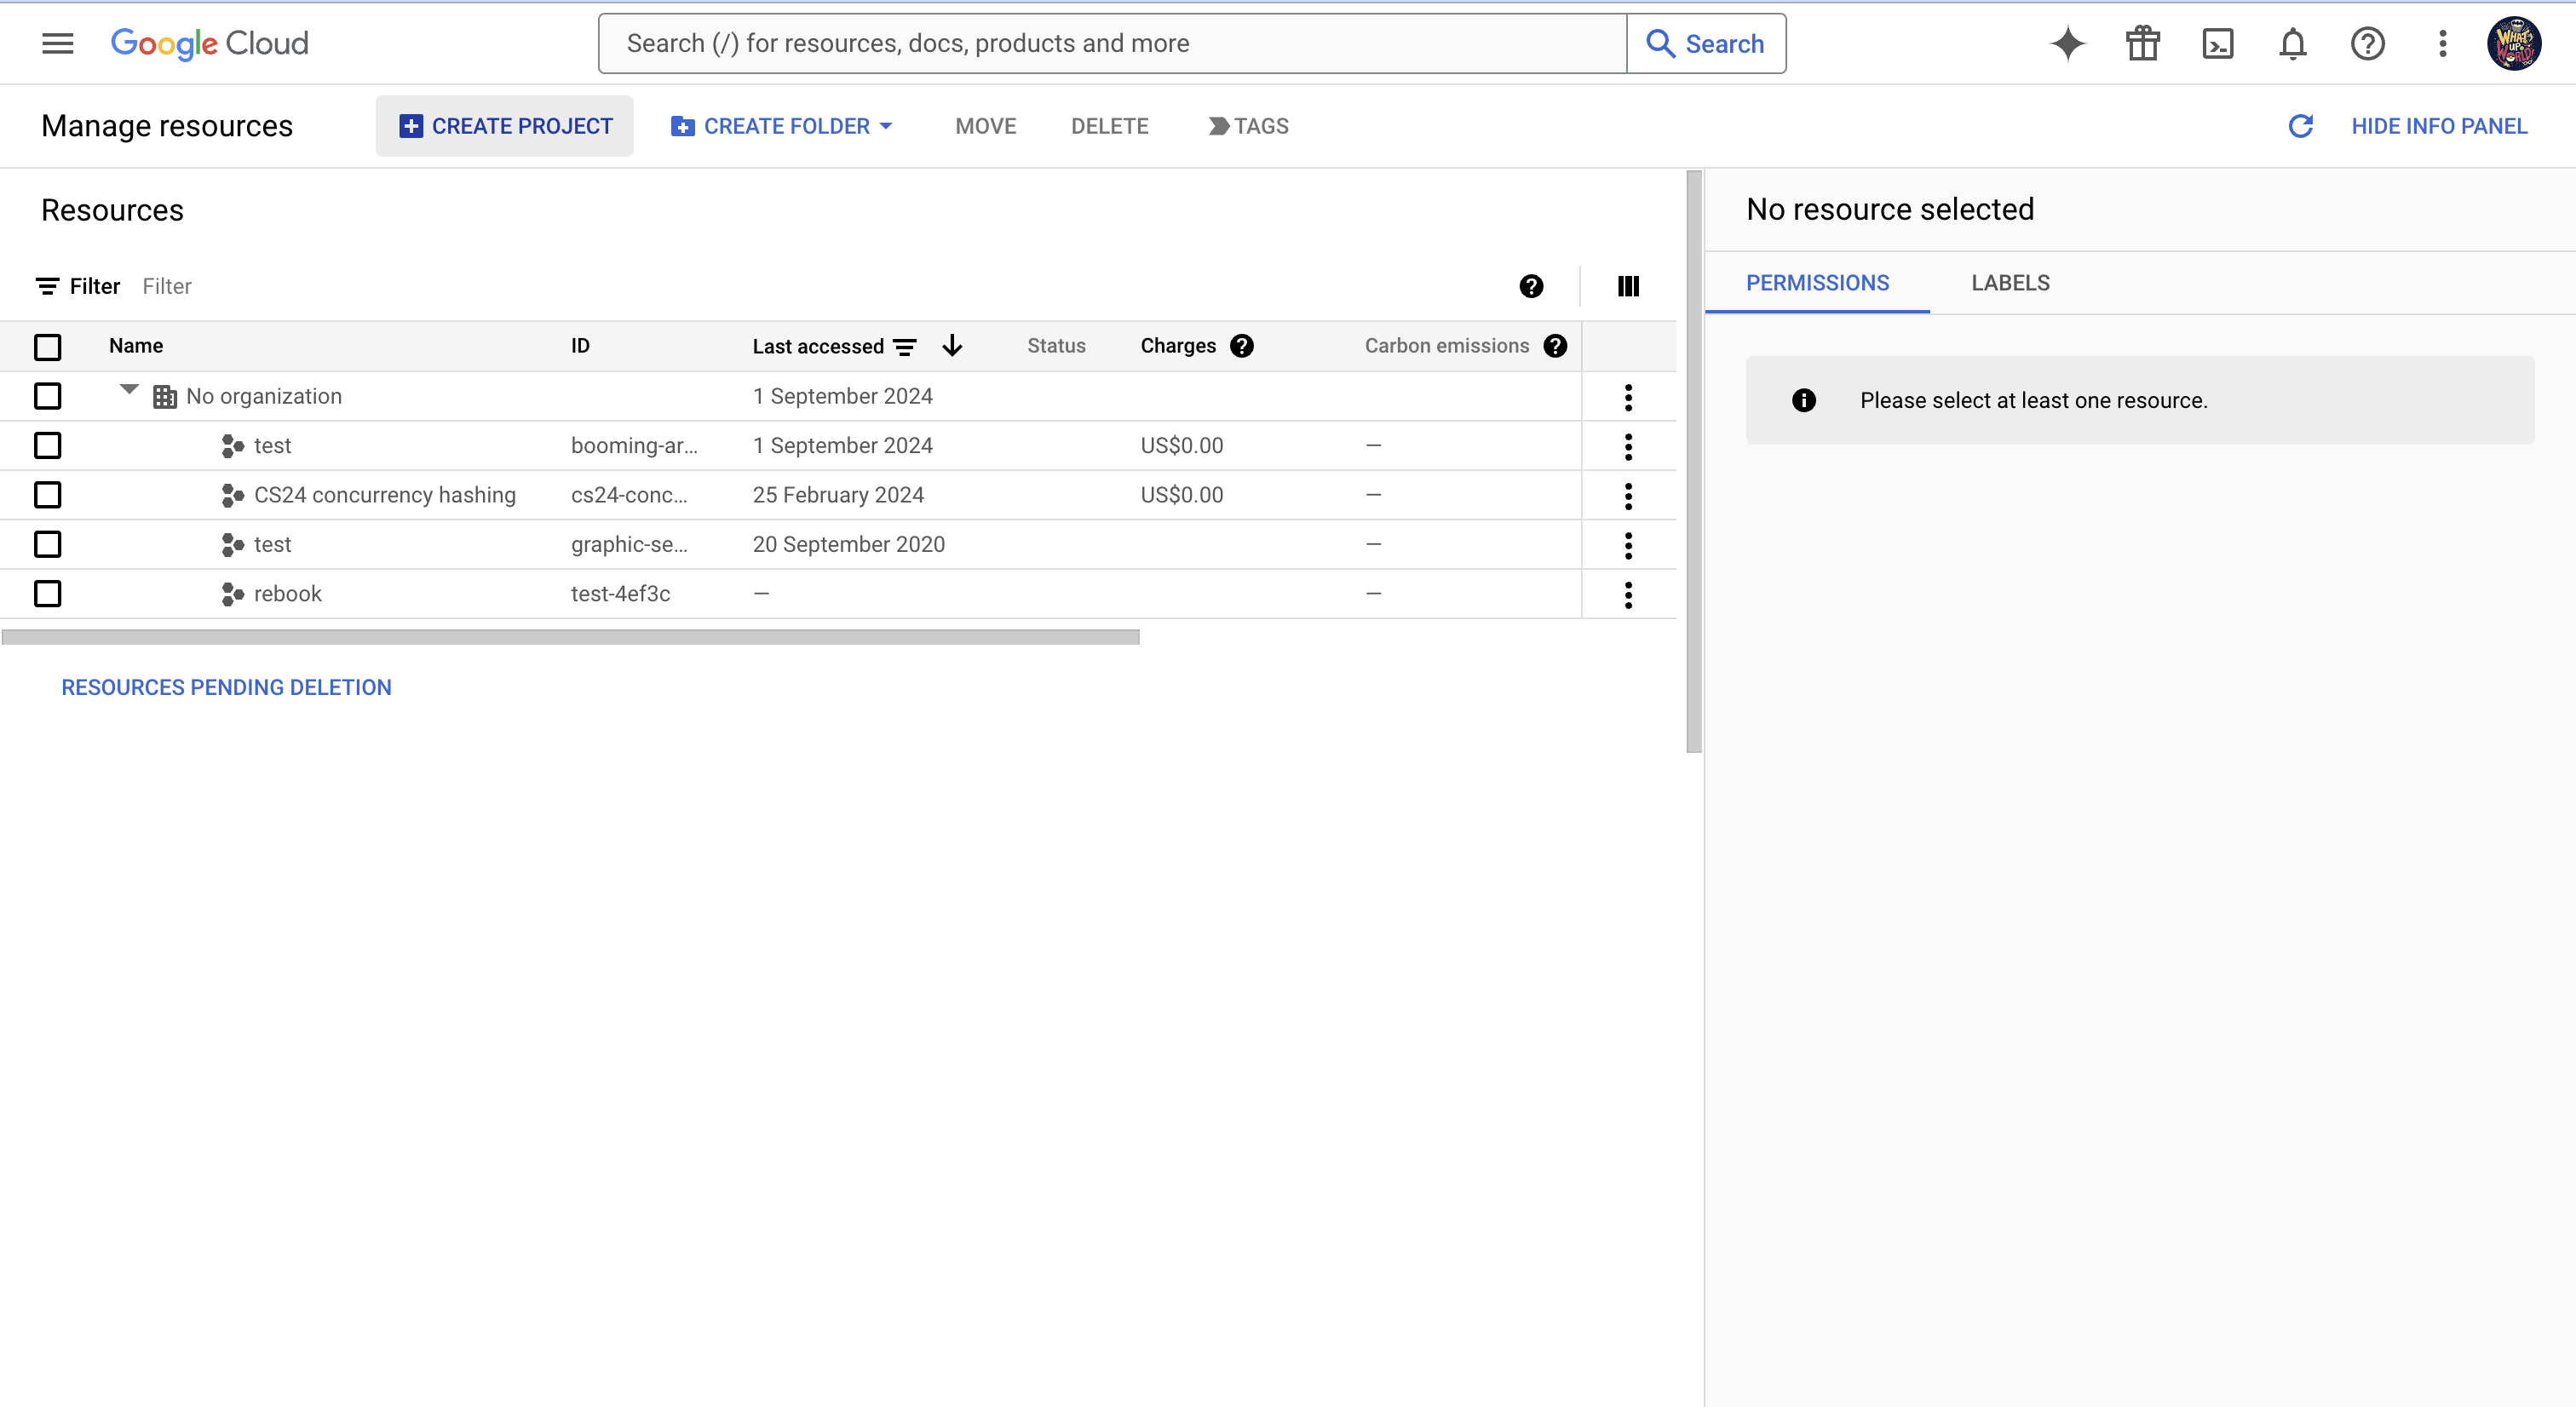
Go to the Resource Manager on Google Cloud.. If it’s your first time signing in to the console, agree to the Terms of Service. Again, do not use your Caltech Google account.
Use the “Create Project” button to make a project with the project name CS1-project4
and “No organization” as the Location.
Make sure you used a personal Google account ending in @gmail.com.
Come to OH if something still is not working.
Turn on the APIs for the service account
Go to the Google Sheets API and click “Enable”.

Create the service account
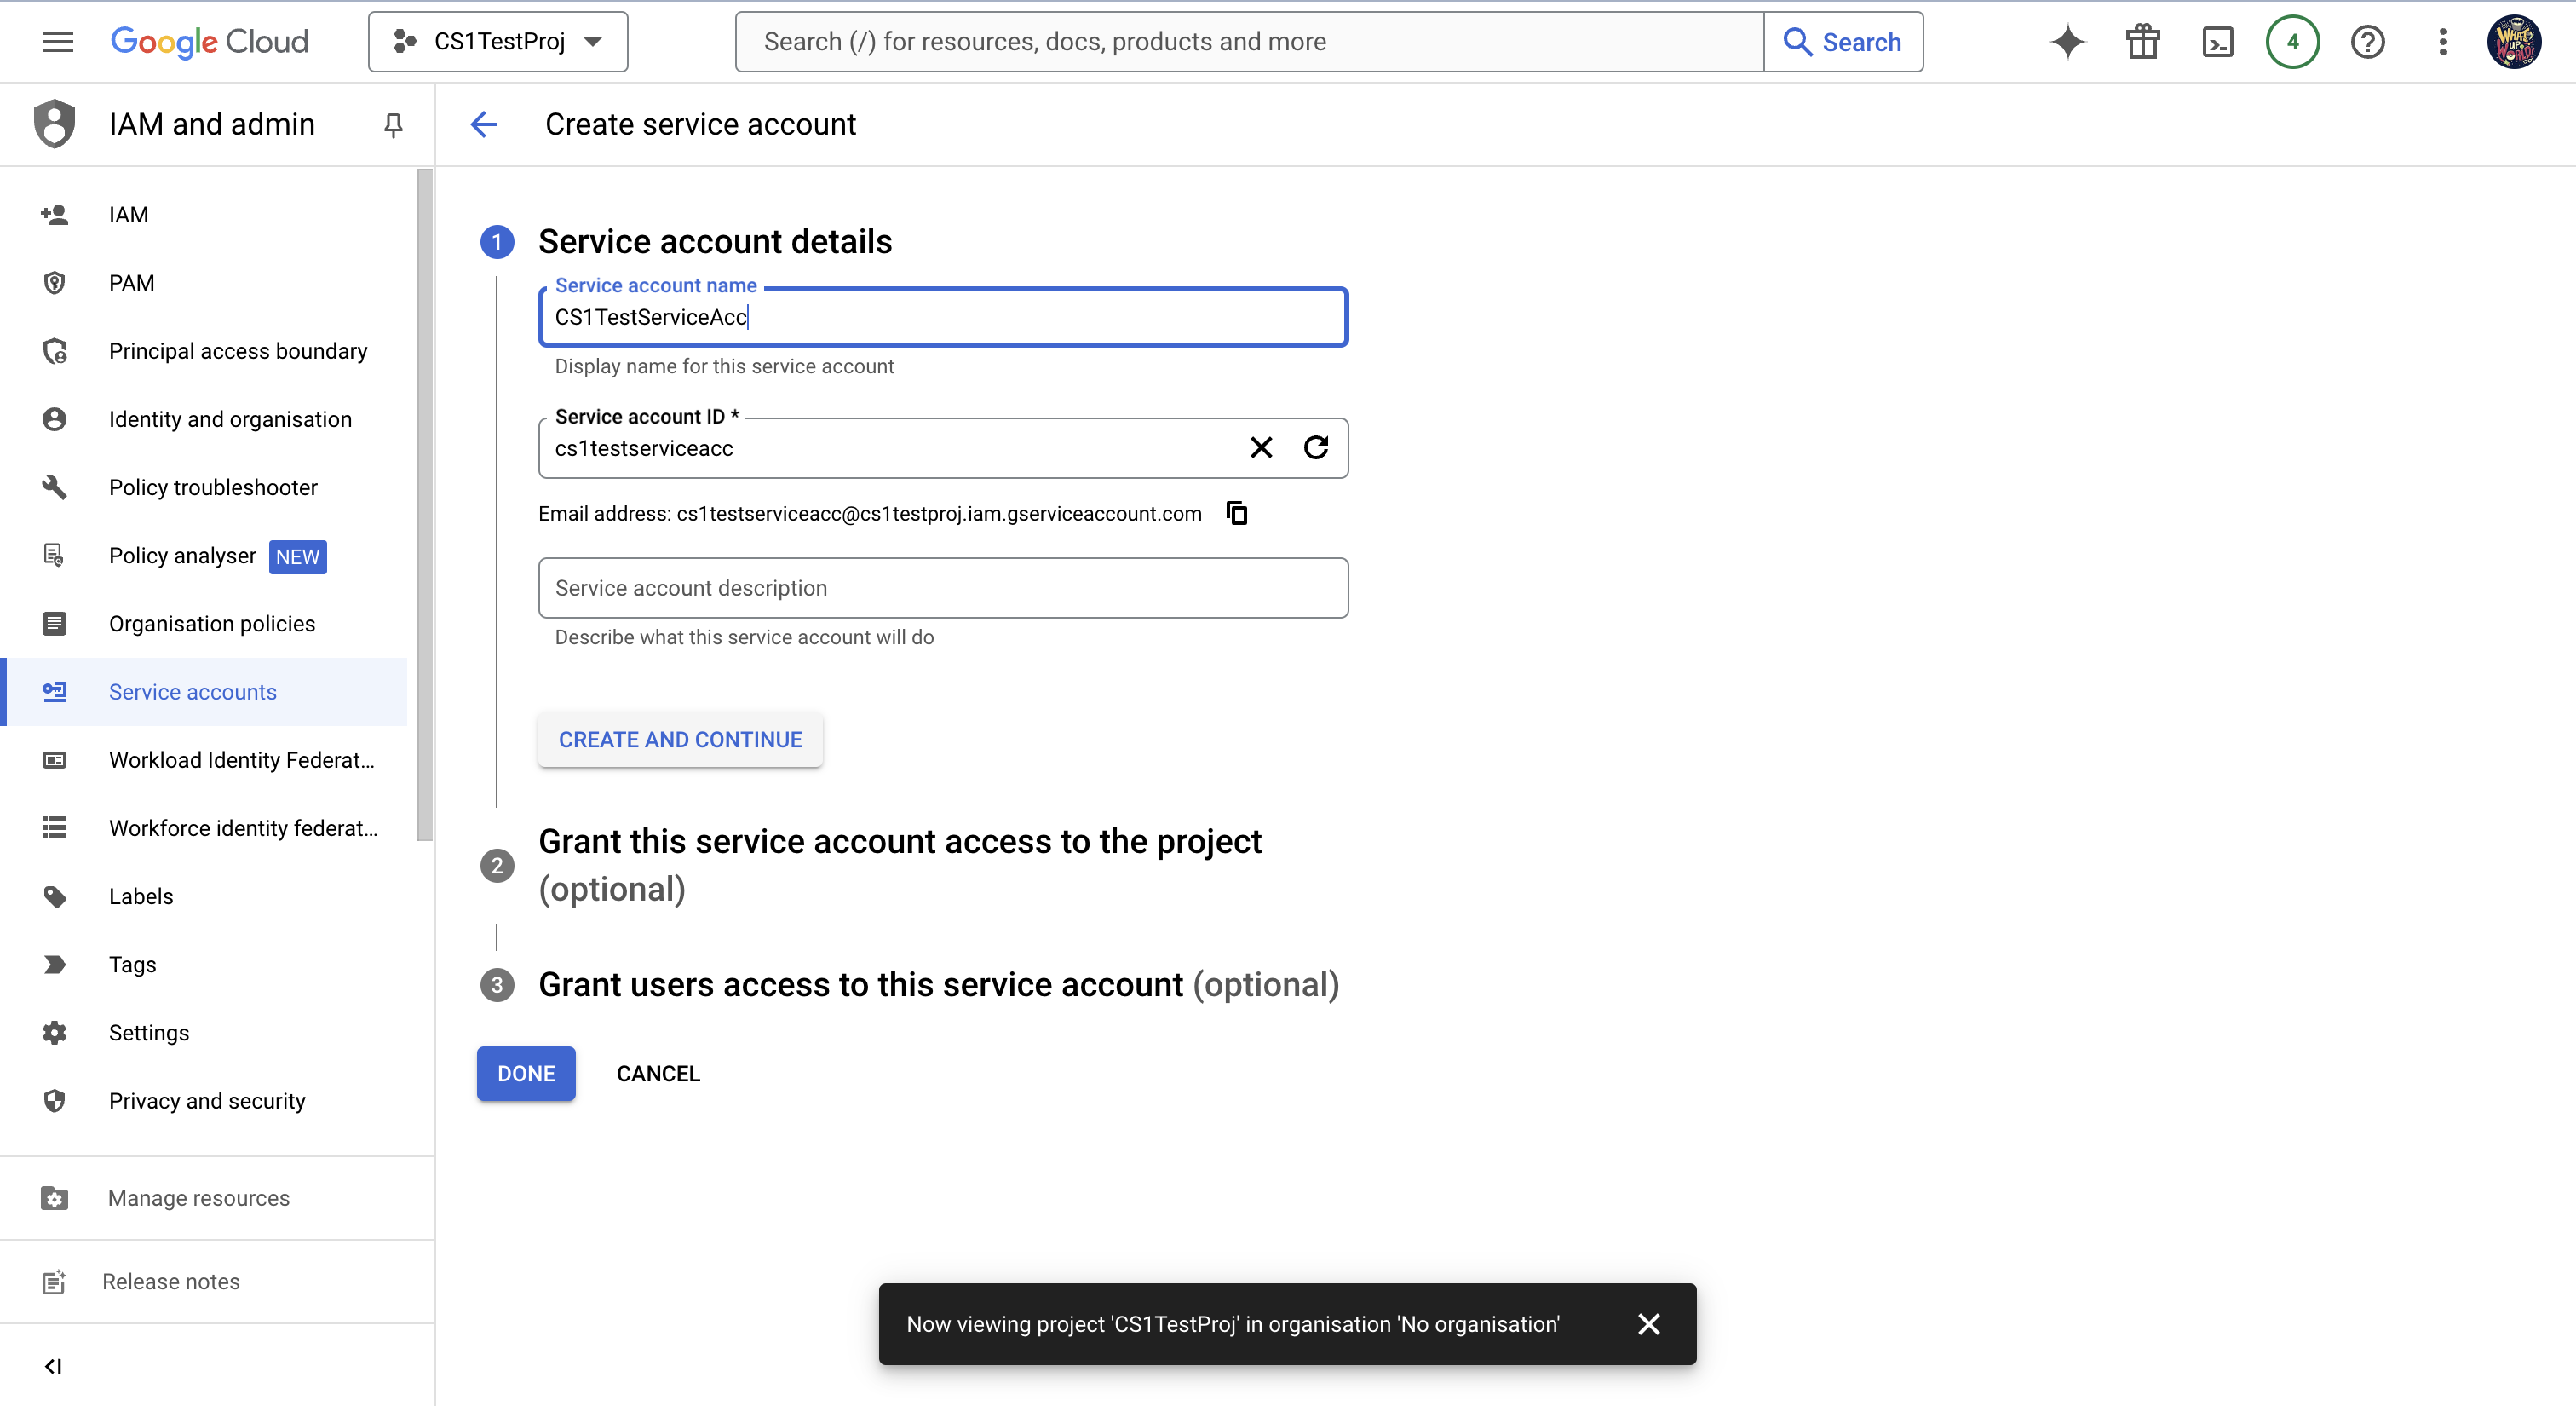
Create a service account at this page and complete the following steps.
- Enter
CS1TestServiceAccas the service account name and click “Create and Continue”.
- Click “Done” > “Save” (if it doesn’t give you an option to save, it means it auto-saved).
- Click on the service account. At the top, click “Keys” > “Add Key” > “Create new key”.

- Make sure the key type is set to JSON and click “Create”.

You’ll get a message that the service account’s private key JSON file was downloaded to your computer.
- Click “Close”.
- Drag the JSON file you downloaded during set-up to VSCode,
in a folder called
project04-YOURUSERNAME(the root of the project04 directory), and rename the file toconfig.json.